Chocolate Chip Madeleines

Freshly baked Madeleines

“Madeleines?” “Weren’t they in the technical challenge in GBBO?” I asked when my sister told me she’s grown fond of the little cookie/cake packet ones available in bulk from Costco (she’s since upgraded to ‘St Michaels’ chocolate chip ones) and now my niece loves them too.

Well, back to my thoughts about trying something featured as a technical on GBBO. Number one, I really find it hard to trust follow someone else’s recipe fully for anything (our ovens may be different, I may like less sugar, and then the battle between the all-purpose, plain and cake flour). Secondly, cake to me is art and experimentation and something I do as relaxation from my very technical day job so I prefer not to bake in a very rigid manner. It would just strip the fun out of it. And lastly, my own baking know-how comes into play and this always leads me straying off a fixed recipe. So, I bought a madeleine pan with good intentions of making her some home made ones, and for over a year all I did was greet the pan with a “Oh yeah, I gotta make these madeleines one day” whenever I opened the cupboard to reach for something else. Why do these little tiny cakes make bakers so uncomfortable? Are they really that difficult to make that they made it to become a technical challenge in a cake competition? It was only when my niece became a fan of them, that I was prompted to conquer the cookie/cake that is ‘Madeleine’!

Soft, buttery, moist Madeleines!

I set an afternoon aside to look for recipes. I didn’t want to overwhelm myself so I looked at only two. One was from a popular baking blog and one a YouTube video. I noticed a difference between the two straight away. On the popular blog, the recipe was more technical because it was based around a geniose sponge recipe where the eggs and sugar are whipped for a very long time to aerate. It’s harder to make, and produces a cake that dries out very quickly and is best paired with juicy fruits and fresh cream fillings such as a gateau. The YouTube video on the other hand was a lot more simpler. I have tried to simplify it further and after triple testing I am sure it will work for you too!

Ingredients

115g butter (I always use salted)

2/3 tsp lemon extract (or you can grate the rind of half a lemon if you have time)

1tsp vanilla flavouring

2 eggs (I used medium)

100g sugar (caster and granulated both work fine)

115g plain flour

1/2 heaped teaspoon on baking powder

a pinch of salt

a handful (40g) chocolate chips (I like dark)

Method

Place the butter in a bowl and melt in the microwave for 30 seconds. Stir and place back into the microwave to melt for another 20 seconds or until it melts fully.

Chopping butter into chunks helps it to melt more evenly

Add the lemon extract and vanilla into the melted butter as set aside.

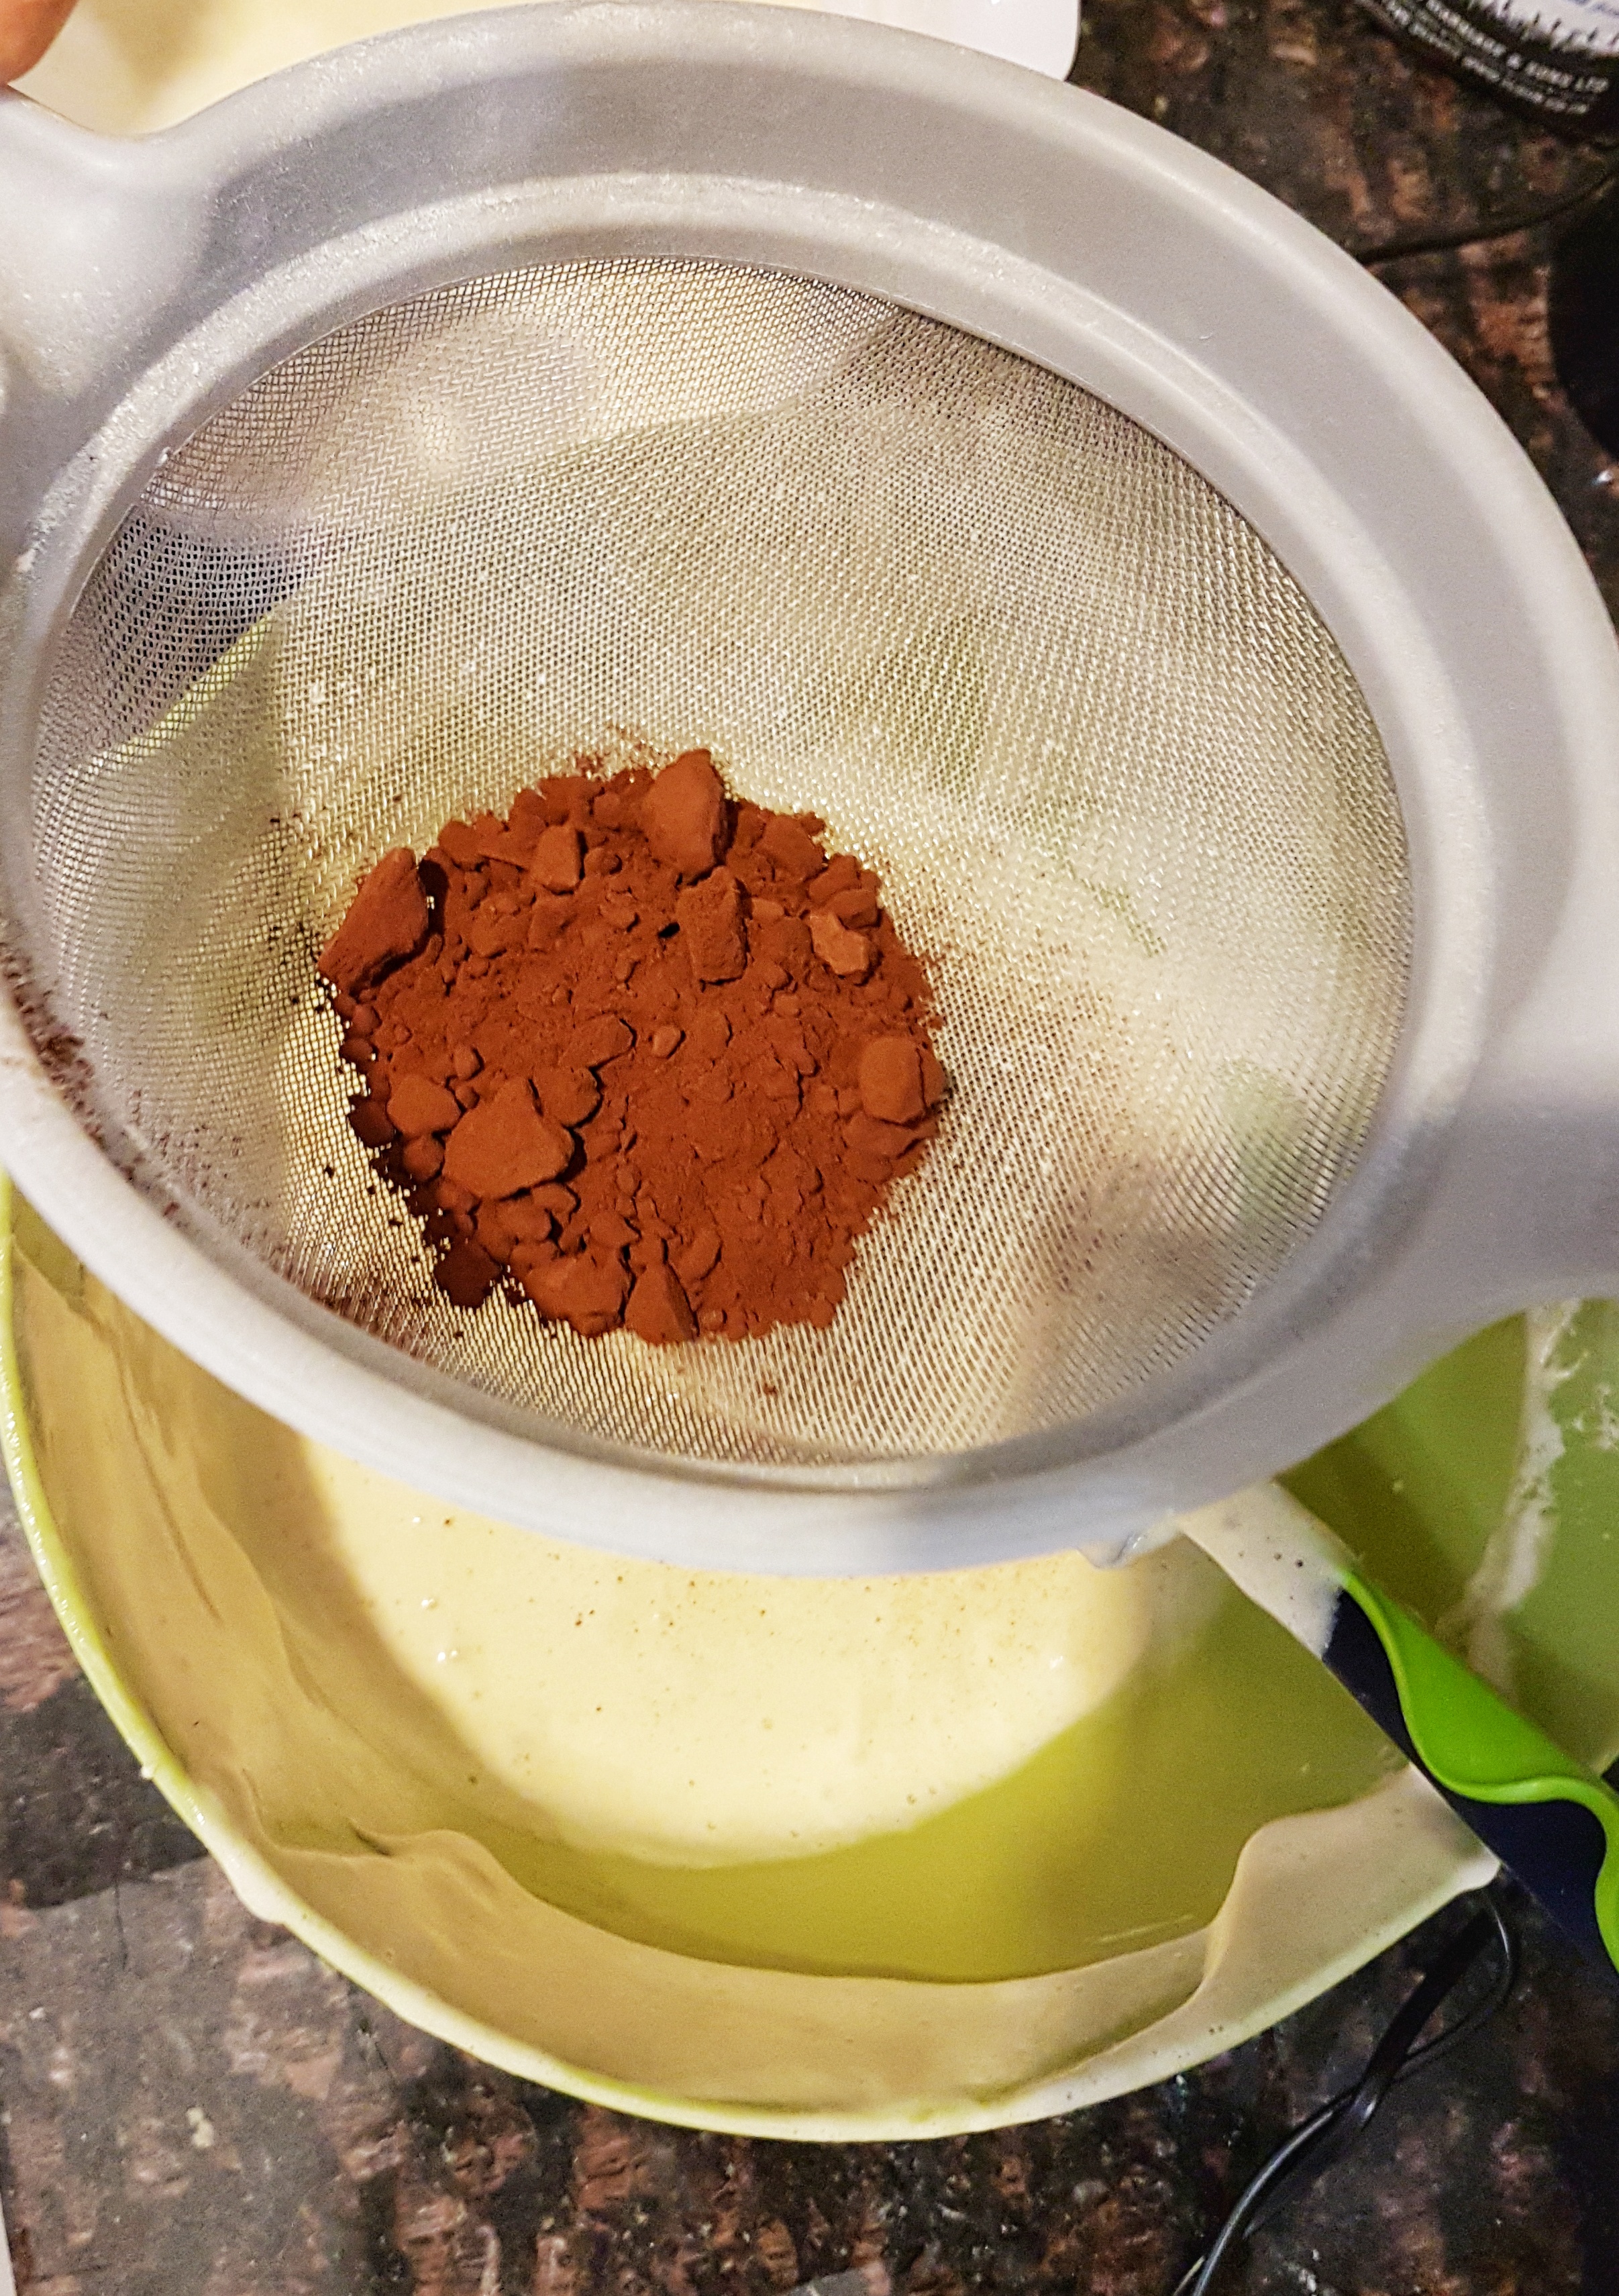
Sift the flour in another bowl. Add in the baking powder and salt and set aside.

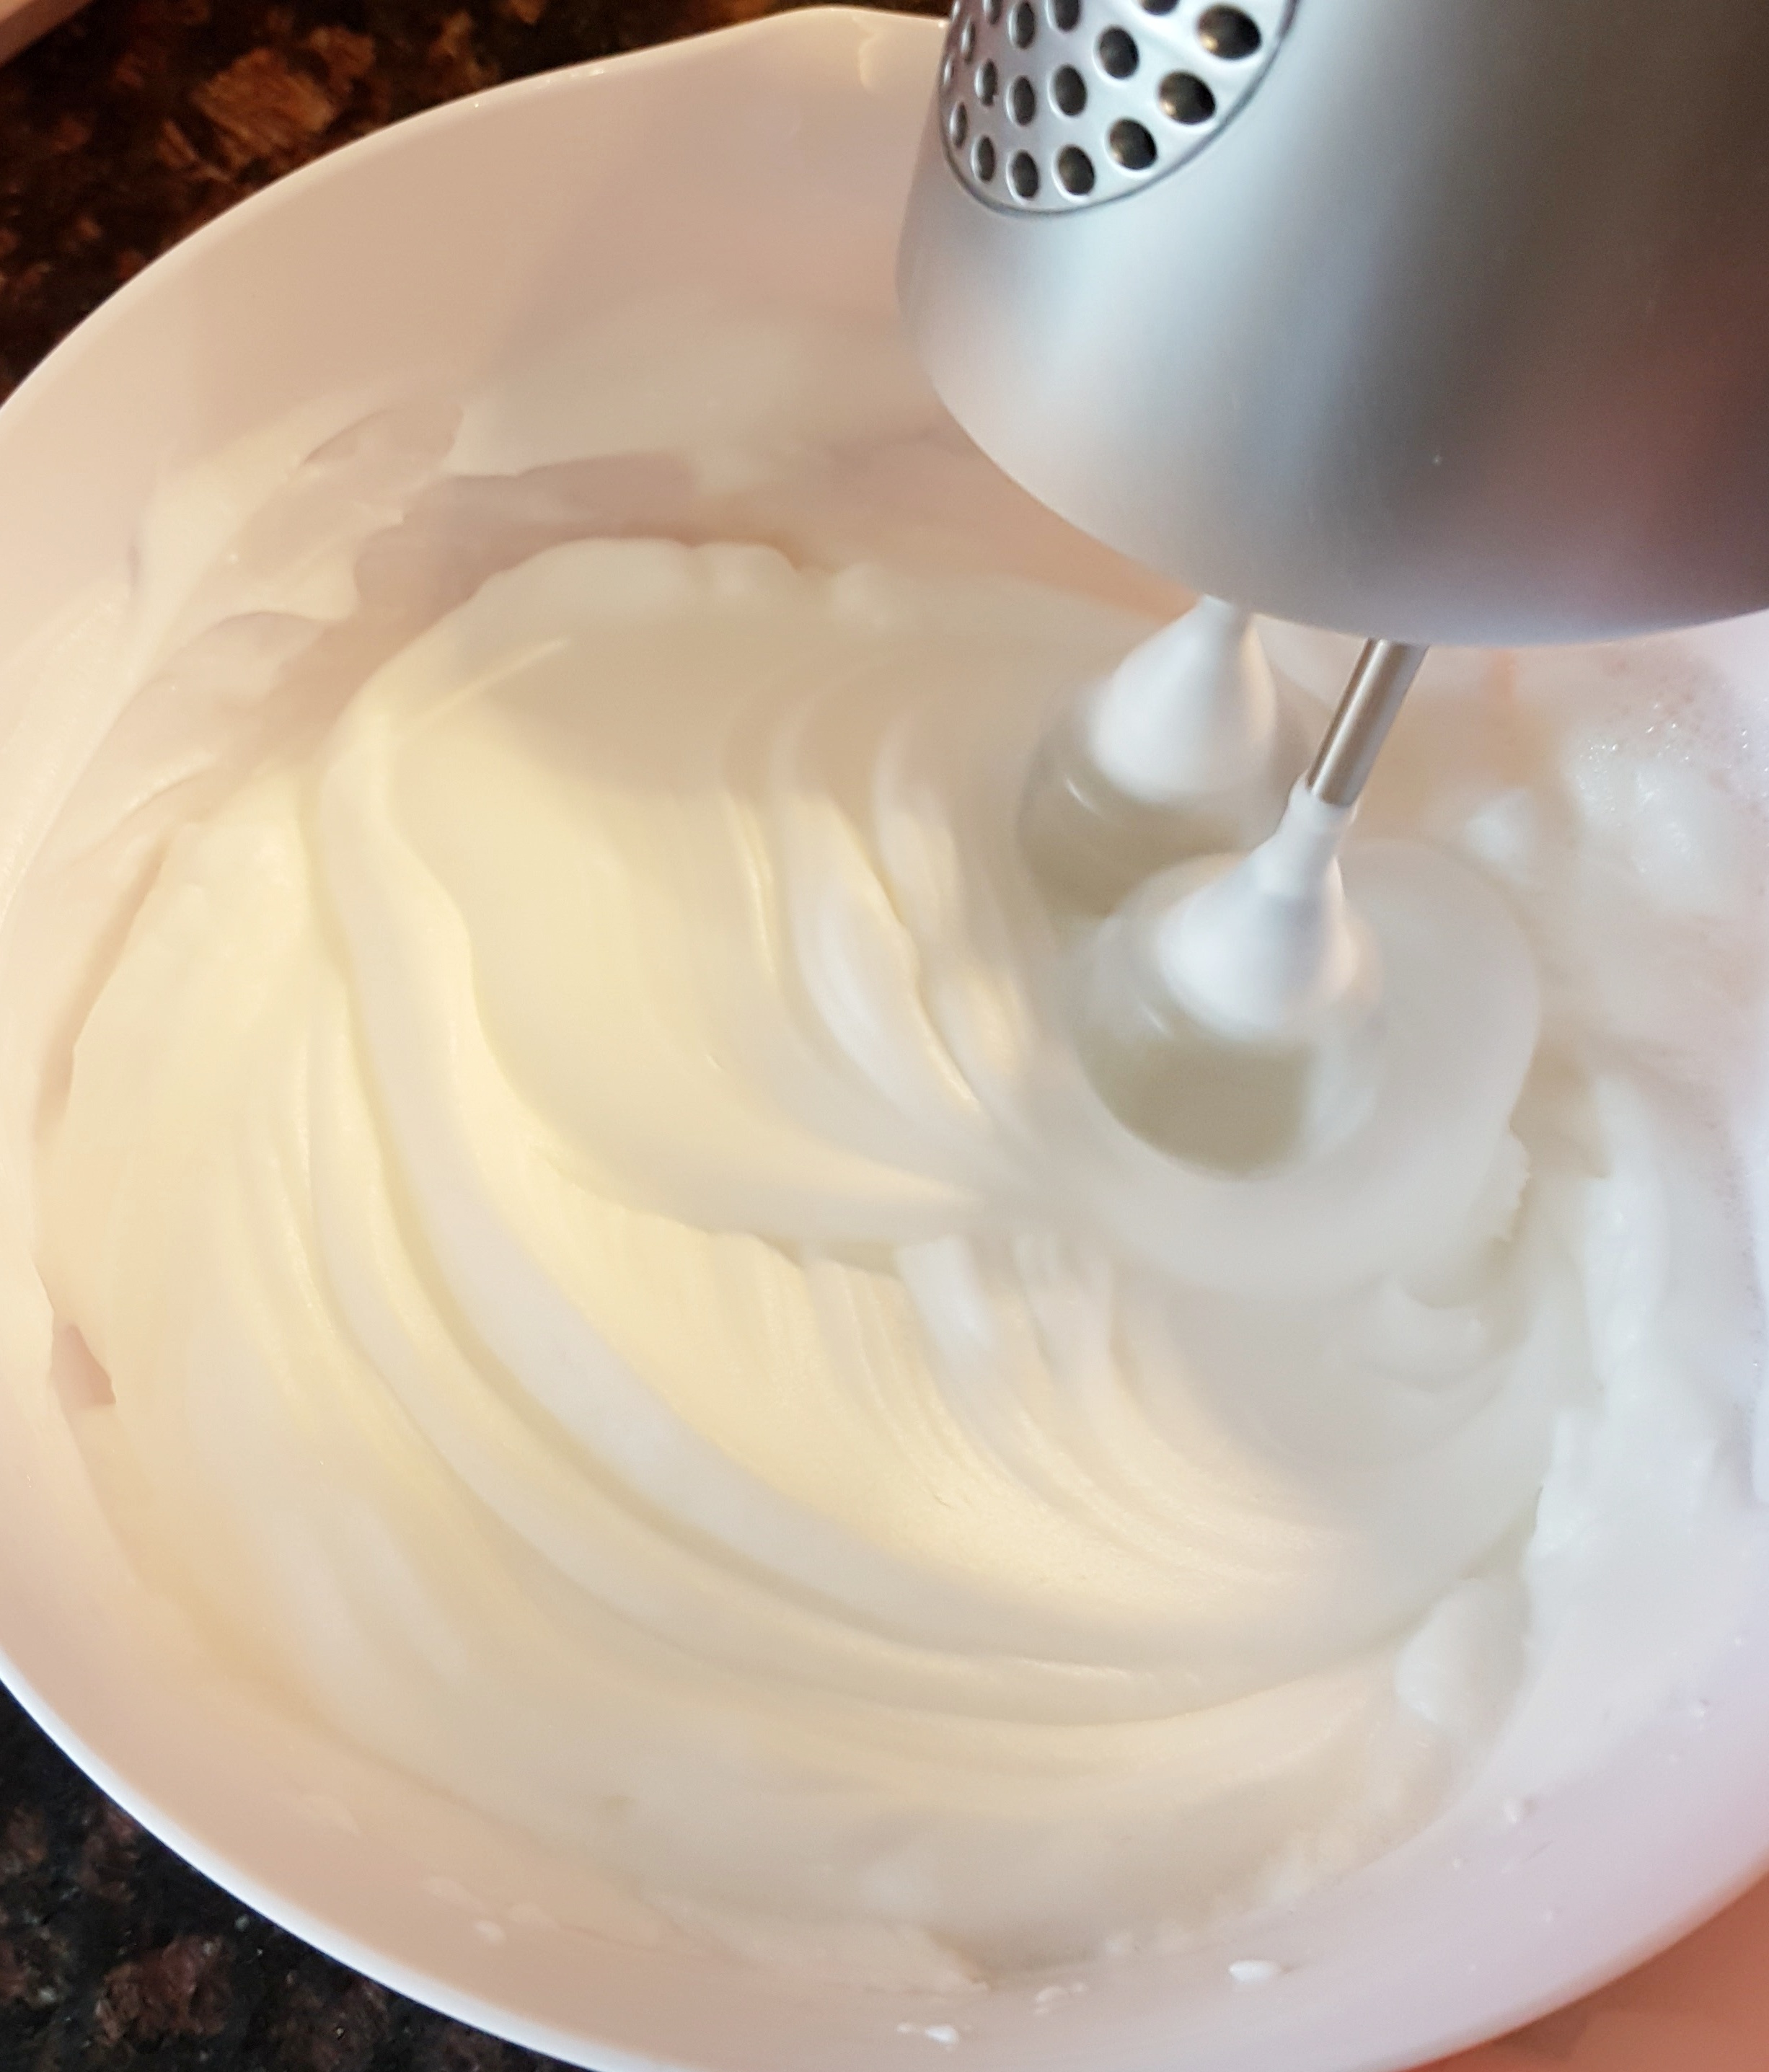
In a larger bowl, whisk together the eggs and sugar using an electric whisk for one minute. No more than this or you risk it being a drier cake. If doing by hand, whisk until its forms small bubbles and lightens slightly in colour.

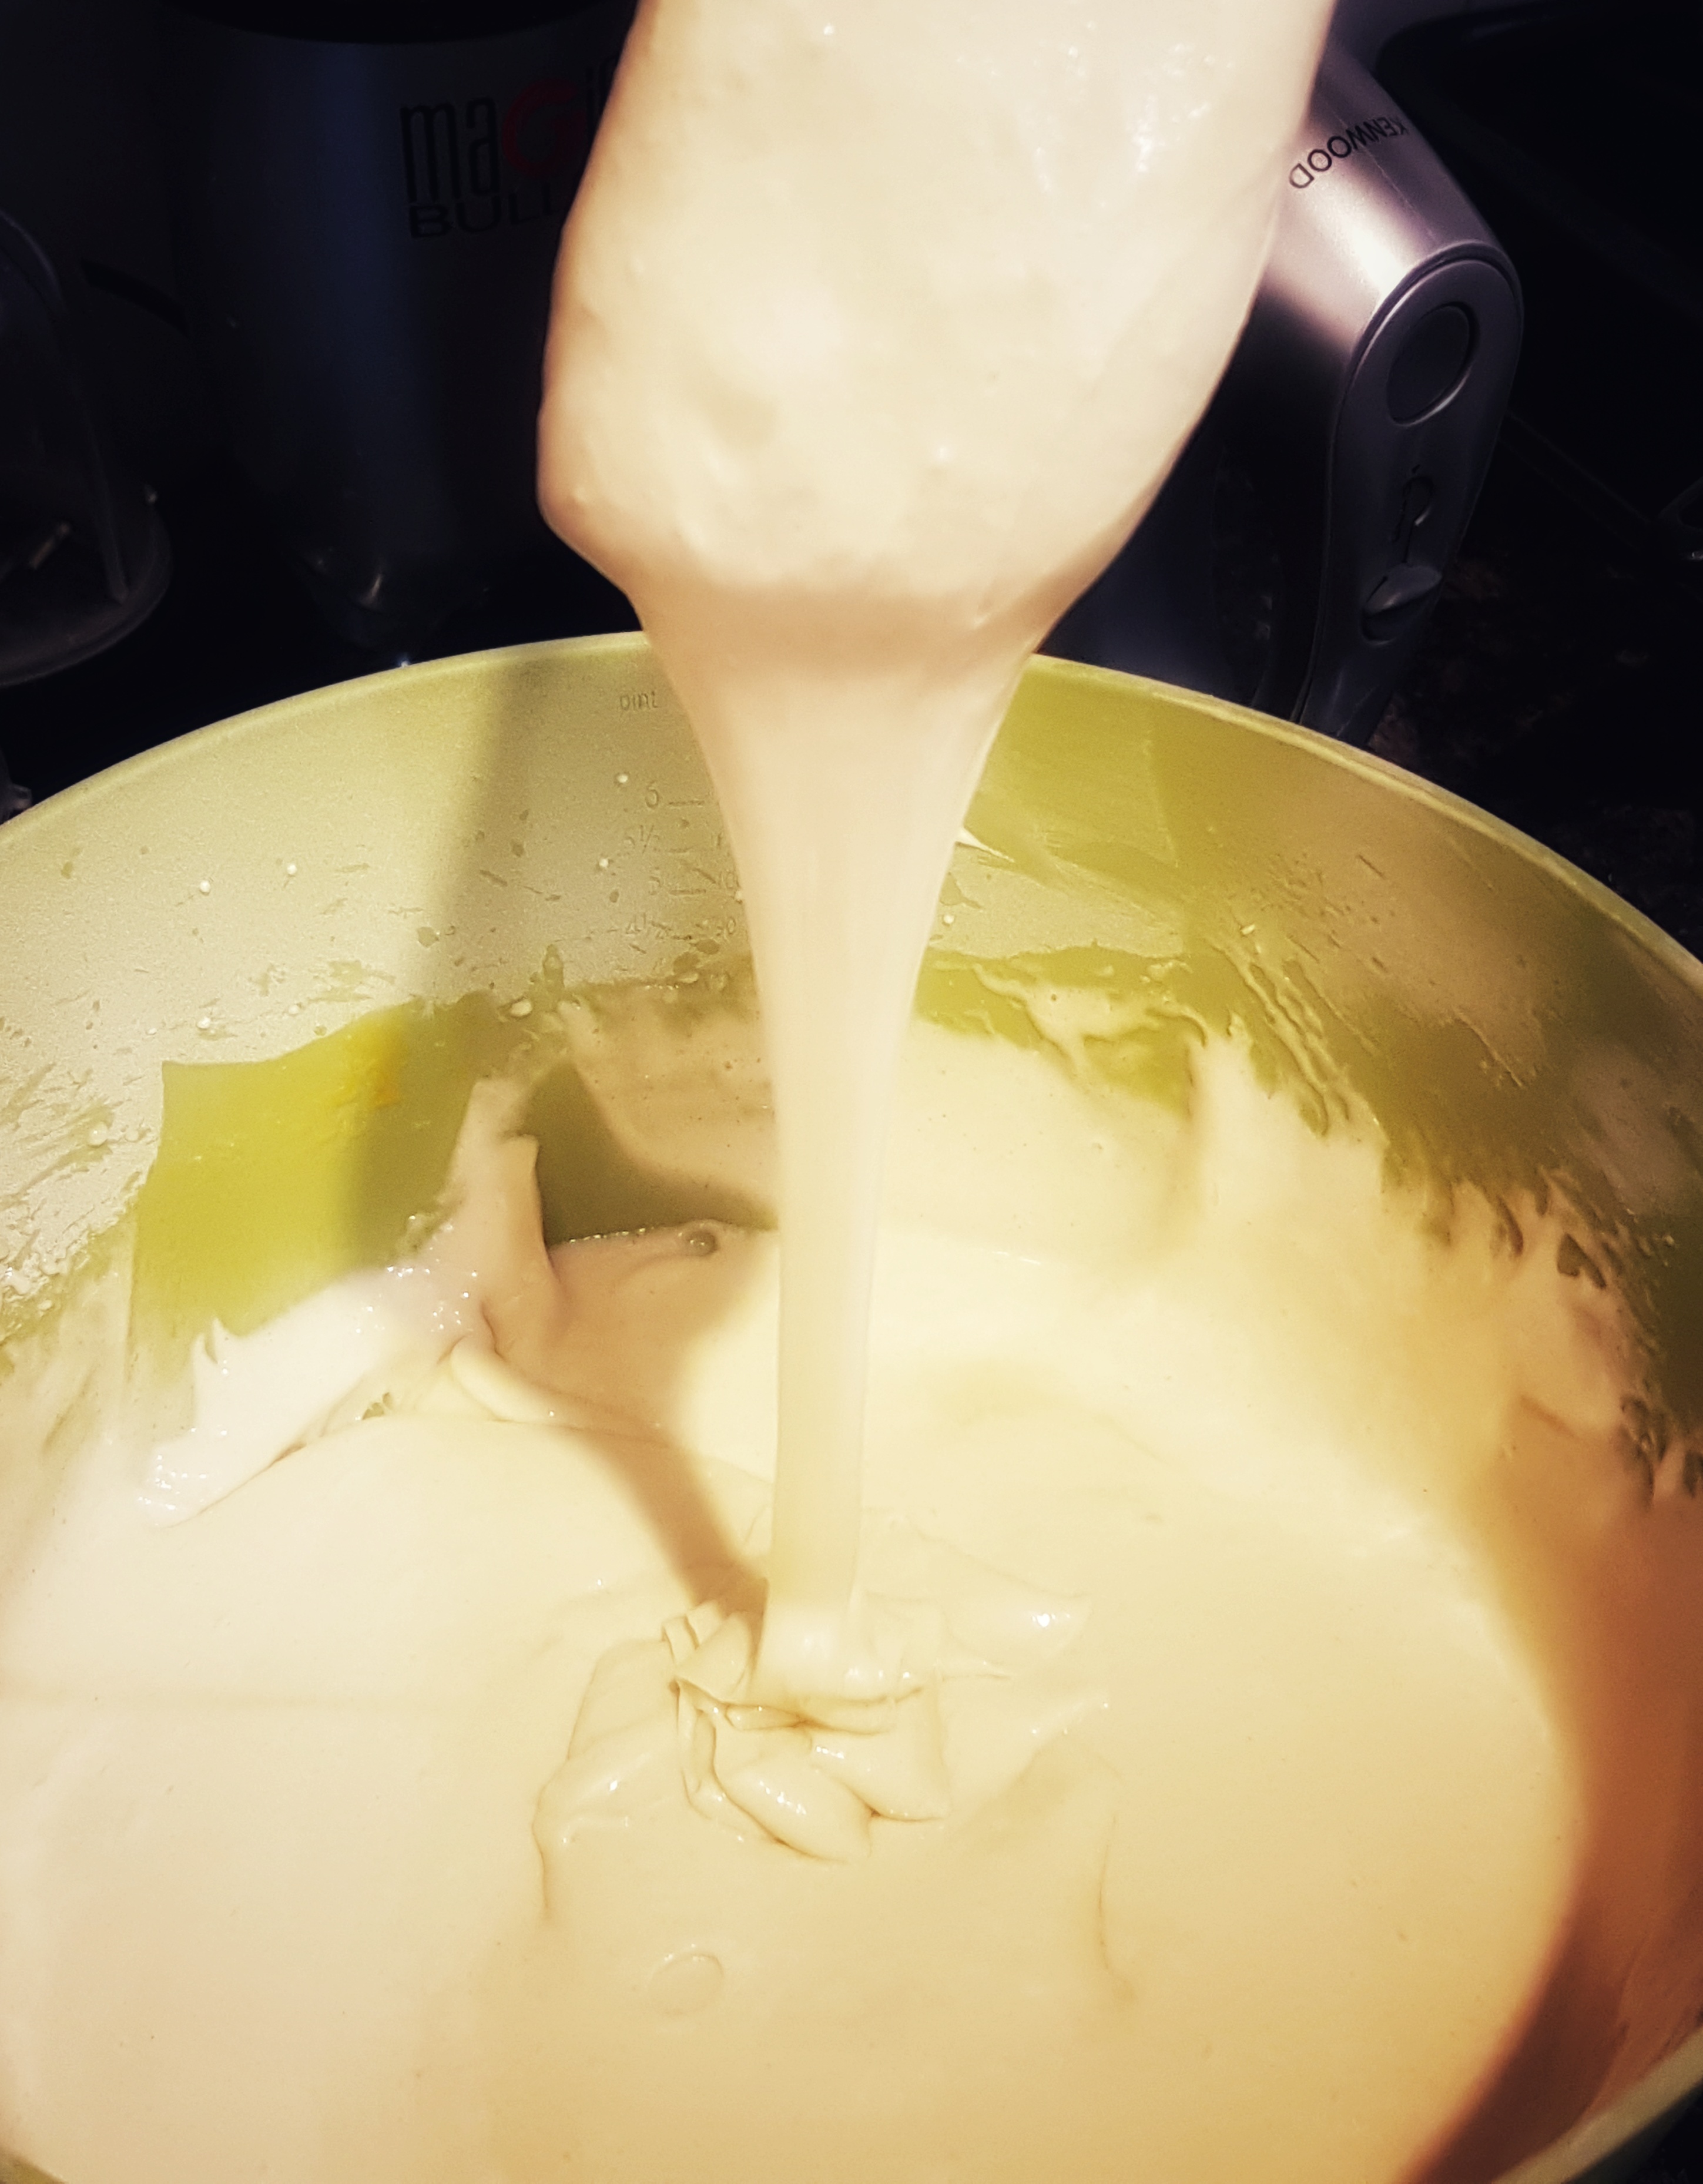
Fold in the flour and mix until smooth.

Fold in the flour

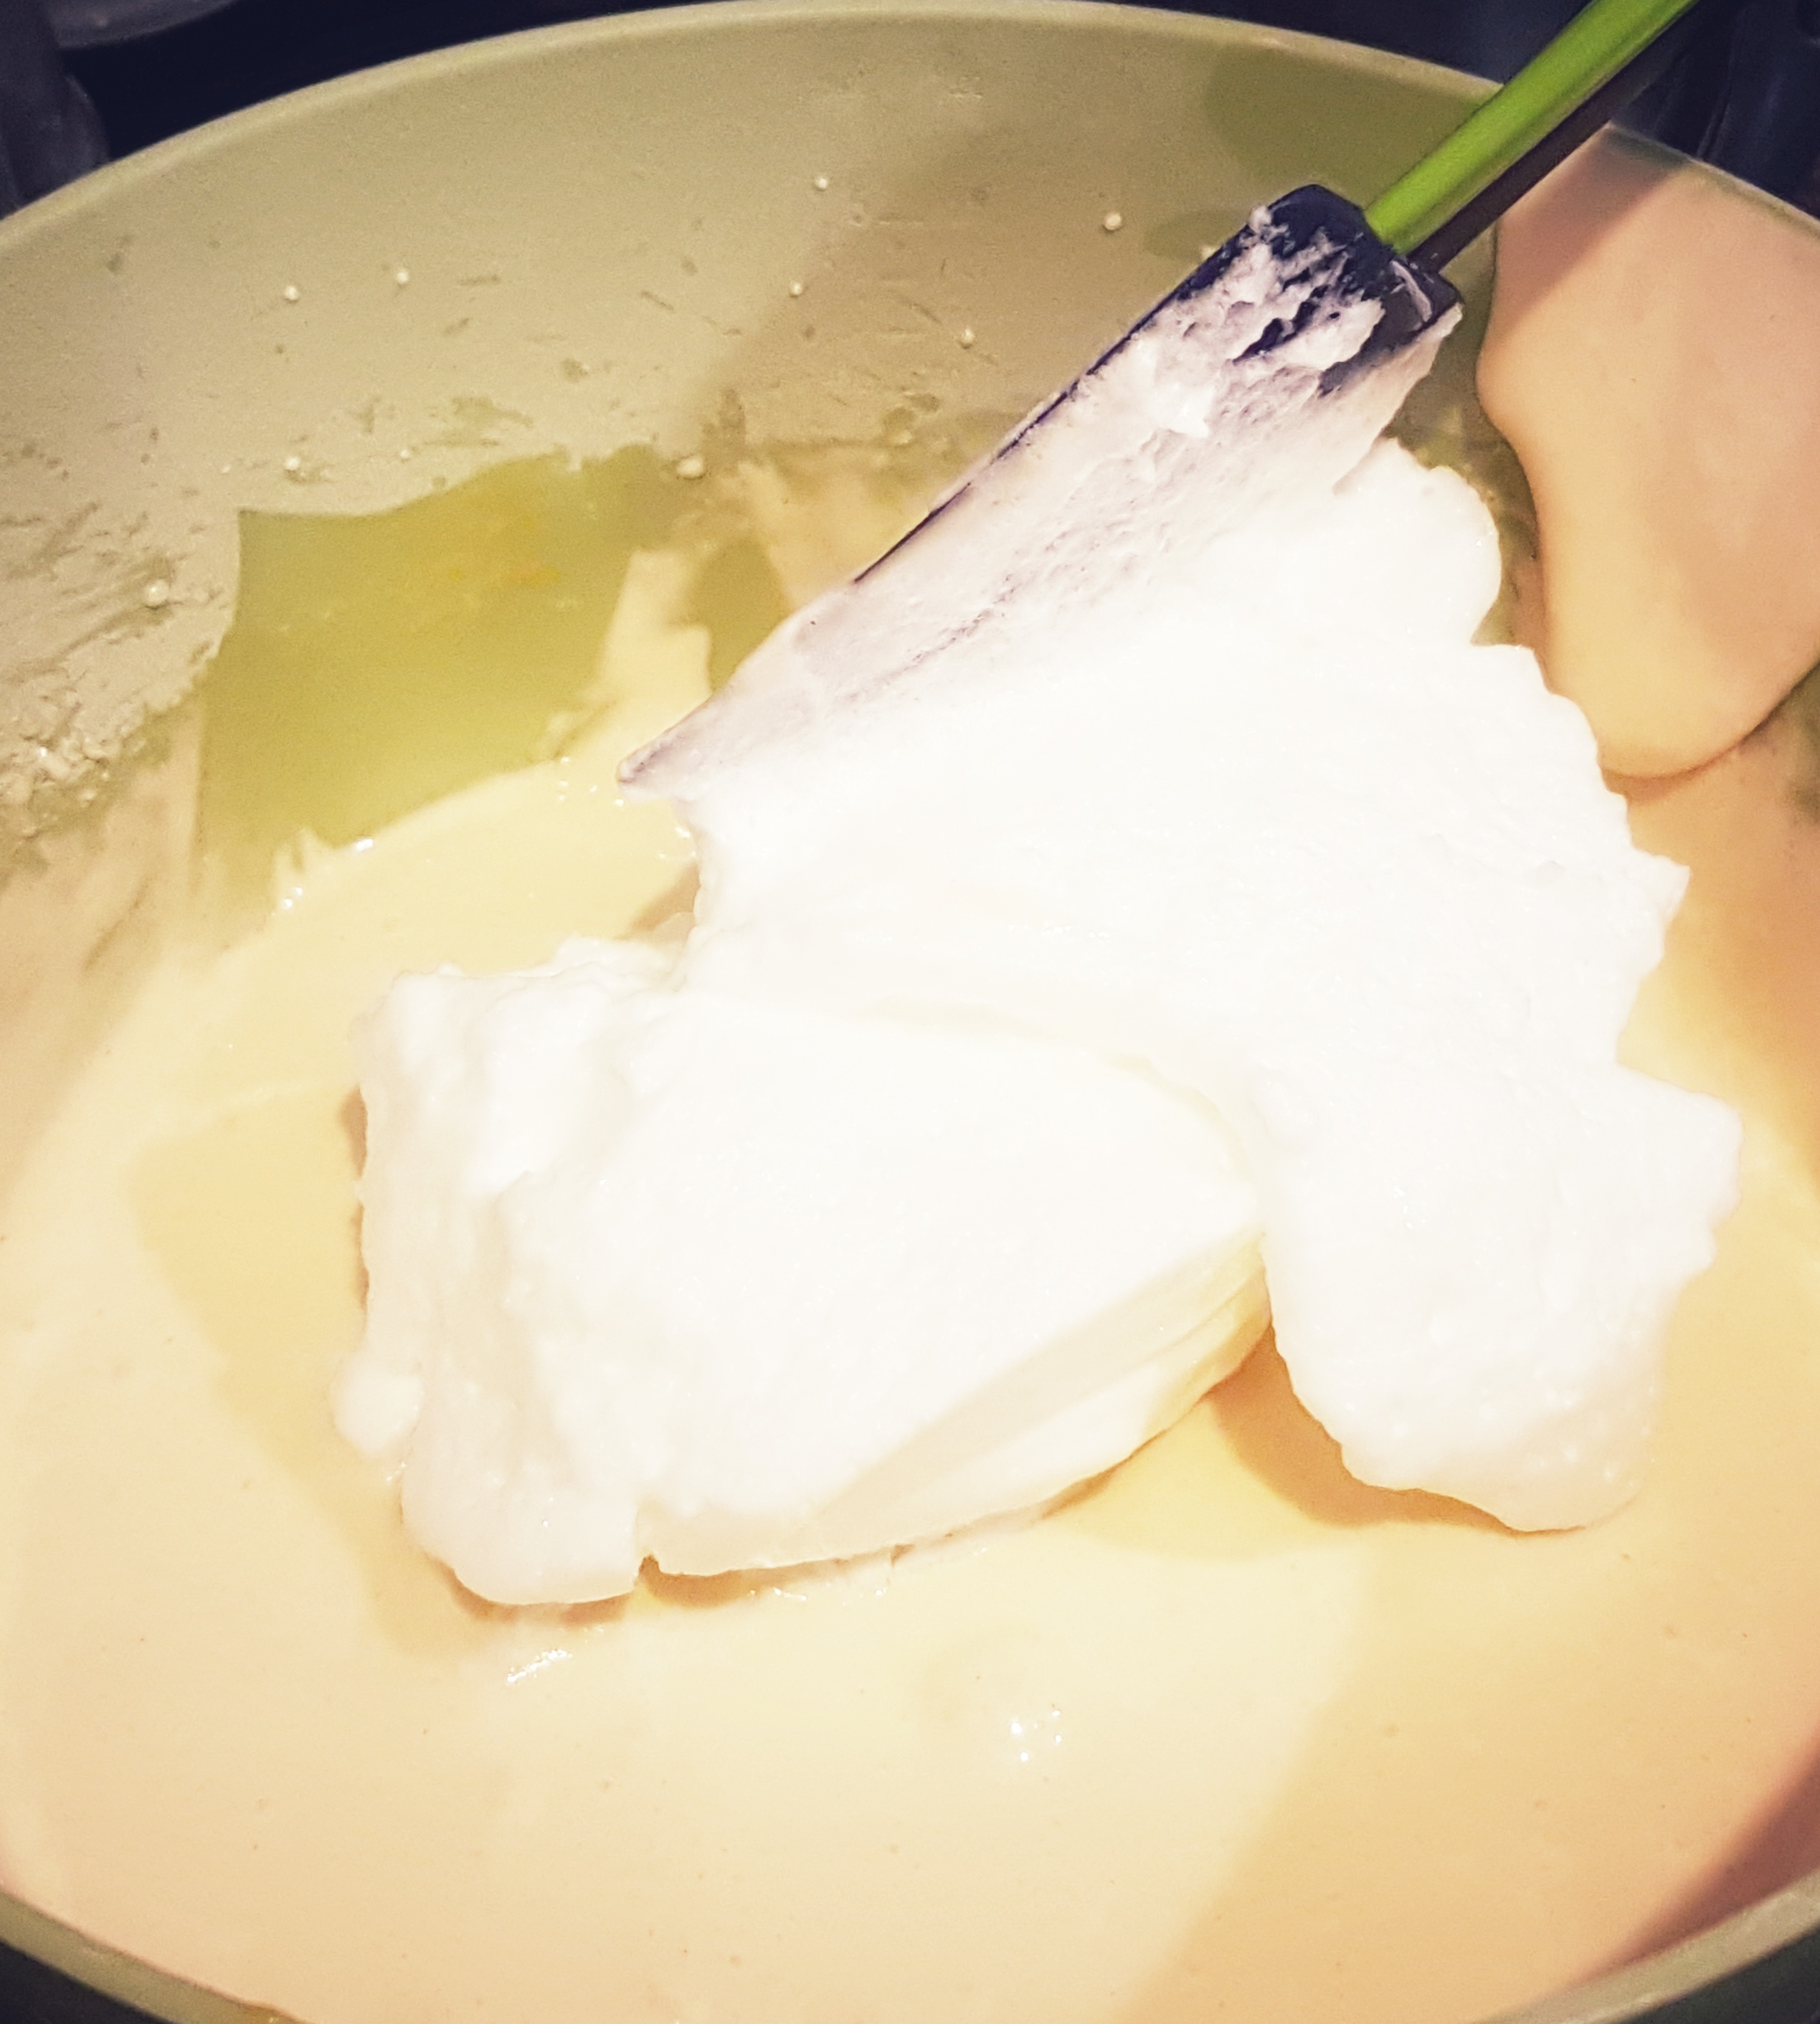
Fold in the butter until well combined and silky smooth.

Cover the bowl with cling film and refrigerate for 45 minutes

During the last 15 minutes of chilling, preheat the over to 170oC.

Grease the madeleine pan generously with very soft butter or spread. You can use a pastry brush or kitchen towel to help you get into all the groves, making sure to grease around the area of each madeleine shape.

Grease it heavily getting into the grooves and around each shell

Remove the cake batter from the refrdgerator and mix it again carefully so its easier to spoon into the tin.

Divide the batter to make 12 madeleines by spooning 3/4 tablespoon into the centre of each of the shell shapes of the madeleine pan.

Top with the chocolate chips. Do not mix the chips into the batter. I tried this in round two of testing and it made the madeleines much harder to remove from the pan when cooked.

Bake for 10-12 minutes. Make sure an inserted toothpick comes out clean to ensure its cooked through.

Remove from the oven an place on a heatproof mat to rest for 5 minutes. Carefully remove each madeleine with a butter knife to help you ease the edges from the pan.

The characteristic madeleine ‘hump’

These will store well for 2 days out and 4 days in the fridge. They are so easy to make, require very few ingredients and taste great. It has a very subtle lemon flavour that gives your palate a clean feel. The dark chocolate chips just take the flavour to the next level.

The scallops on the reverse side

A possible flavour combination to try would be orange extract with milk chocolate chips. Looks like I’m going to be making them regularly from now on and I hope you give them a go too this baking season.

.

Blueberry and White Chocolate Muffins

Blueberry and White Chocolate Muffins

These extra large Muffins are packed with mouthwatering flavour. Fresh plump blueberries suspended within the moistest vanilla muffin sponge ever! Topped with white chocolate chips and then doubled topped with a cinnamon crumble. And they couldn’t be easier to make!

Makes 12

Ingredients

Crumble top:

2 tbsp plain flour

3/4 tbsp butter

2 tbsp granulated sugar

1/4 tsp cinnamon powder

1/3 cup white chocolate chips

For the Muffin Batter:

300g self raising flour

150 g caster sugar

3/4 tsp baking powder

1/4 tsp salt

200 ml milk

100 ml oil

2 eggs

1 tsp vanilla flavour

1 cup fresh blueberries

Blueberries are an excellent source of vitamin C, fibre and anthocyanidins (an antioxidant)

Method

Preheat the oven to 160 C.

Line a cupcake tray with cupcake cases. You can use regular cases but I had some extra large cases which I purchased from Wilton. I like these cases because a larger muffin will fill you up if you are having them for breakfast or lunch. Plus they look cool!

Make the crumble topping by rubbing the butter and flour together to make breadcrumbs. Stir in the sugar and cinnamon and set aside.

Place the flour, sugar, salt and baking powder in a large mixing bowl and stir to combine.

In a measuring jug, measure the milk and oil. Add the eggs and vanilla and whisk together.

Pour the wet ingredients into the bowl of dry ingredients and whisk (by hand or using an electric mixer) until the batter is smooth. Do not over whisk.

Add the blueberries and stir through to distribute evenly.

Use an ice cream scoop to divide the mixture between the cases taking care than each muffin gets enough blueberries.

Sprinkle the tops with the white chocolate chips.

Now sprinkle the crumble mix on top of each muffin.

Bake for 25 to 30 minutes (checking after 25 minutes). The muffins should be a light golden brown colour but I always check my cakes with a cocktail stick. Insert a cocktail stick and if it comes out clean then the muffins are cooked. I find they usually need 28 to 29 minutes.

Remove from the oven. Cool slightly if eating warm.

Sooooo Moist!

These take less than an hour to make and that’s including the baking time. It’s a simple recipe for new bakers to try. Muffins may not be forgiving to the waistline but they are forgiving if you do not have all the ingredients. I’ve made muffins without eggs, without baking powder, without salt, different types of sugars, no flavourings and experimented a lot and they still came out pretty decent so if you really want to have a go, try and get as many of the ingredients as you can and get baking!

Carrot Cake with Cream Cheese Frosting

How many times have you been tempted by the cake sitting on the counter at the coffee shop? Occasionally I do succumb to my temptations and grab a slice to share with my coffee mates but most times I tell myself I will make it at home and everybody can have some. So one Saturday I randomly decided I wanted to bake myself a feel good homely carrot cake. Did I have the ingredients I needed? No!! I didn’t have the brown sugar and only had a few broken pieces of walnuts left in an almost empty bag. But the thought of having a proper piece of carrot cake served up on a little plate made me determined to fly over any obstacles in my way. I made it with what I had and it turned out to be the most delicious, airy carrot cake I had ever had and I am going to give you the recipe EXACTLY the way I made it!

This is a fridge situation you want to have!
This is a fridge situation you do want!

Ingredients for the cake sponges

2 cups self raising flour

2 teaspoons baking powder

1/2 teaspoon baking soda (bicarbonate of soda)

1/4 teaspoon salt

1 teaspoon ground cinnamon powder

1/2 teaspoon ground clove powder

1/4 teaspoon ground nutmeg powder

1/3 cup almonds (grounded using using a food processor)

2 full cups of grated carrots (thats about 4 or 5 carrots worth)

3 eggs

1 and 1/4 cup sugar (I used normal white granulated)

3/4 cup sunflower oil ( or a vegetable oil – NOT olive oil as its too thick)

1 teaspoon vanilla flavouring

1 teaspoon honey and 1 teaspoon of caramel flavour ( I used these because I wanted to compensate not having brown sugar but I would say the honey and the caramel flavour is optional)

2 tablepoons orange juice ( I used Tropicana original)

A handful of raisins

Ingredients for the cream cheese frosting

150g softened salted butter

150g cream cheese ( I used philadelphia full fat)

2 cups icing sugar

1 teaspoon lemon juice

1 teaspoon vanilla flavouring

2 teaspoons milk

Walnuts to decorate (they also add to the mouthwatering experience!)

Method

Preheat your oven at 180 C.

Grease and line two 9 inch round cake pans.

Place the eggs, sugar, oil, vanilla, caramel and honey into a bowl and whisk until smooth (about 30 seconds using an electric hand whisk).

Put the flour, salt, baking powder, baking soda and all of the spices into a big mixing bowl. Stir to combine. Add the carrots into the bowl and toss to coat the carrots with the flour mixture. Stir in the ground almonds to distribute evenly.

Pour the wet mixture into the carrot mixture and mix well to combine (about 45 seconds using an electric whisk).

Add the orange juice. Wash the raisins and add the WET raisins into the bowl. Mix well until all the ingredients in the cake batter are well combined.

DIvide the batter into the two prepared cake pans.

TURN DOWN your oven to 160C

Bake the cakes for 28 mins or until an inserted toothpick comes out clean.

Remove from the oven and let your cakes rest for 10 minutes in the pans. Turn the cakes out onto a wire rack to cool faster. If you do not have a rack, leave the cakes to cool in their pans in a cooler area of your room.

Meanwhile make your cream cheese frosting.

Whip the butter until creamy and pale.

Add the cream cheese and whip until smooth.

Add one cup of the icing sugar and beat until creamy.

Add the vanilla and another 1/2 cup of sugar. Beat again.

Add the lemon juice and remaining sugar and beat the frosting until pale.

Add the milk and whip until light, smooth and creamy.

To assemble your cake, place one of the cake sponges onto a serving dish of your choice. Smooth over half of the frosting. Place the second sponge on top. Spread over the remaining frosting. Use a palate knife or spoon to create some texture lines or swirls as you spread the icing over the top of the cake. Top the cake with the walnuts as neatly or as rustically as you like. Place in the refrigerator for at least 30 mins to set up slightly. Remove the cake from the refrigerator 15 mins prior to serving.

This cake could be sitting on your counter top in a few easy steps!

This cake stores well in the refrigerator for about 4 days. Its so easy to make, you can get the kids involved and have the cake ready in a couple of hours using ingredients you have at home.

TIP: Why not use this recipe to make carrot cake muffins? Just make the batter and frosting as directed in the recipe and fill about 18 cupcake cases depending on how much you fill them. The cooking times may be a few minutes less (always use the cocktail stick doneness test!). This recipe makes a lovely light cupcake. For a denser carrot cake cupcake recipe, click on this post.

Light and Fluffy Carrot Cake Muffin

Nutella Filled Pancakes

So, I’ve been making pancakes on a regular basis for years now and since the summer I’ve been doubling up my recipe and sending some over to my nephews. The boys love to spread Nutella all over their pancakes and I wondered if there was a more tidier and time saving way (especially in the mornings) to serve Nutella with pancakes. I came across this post and used my original pancake batter recipe.

Makes 7 pancakes

Ingredients

10 tsp Nutella

300ml milk

1 egg

2 tbsp sugar

1/4 tsp salt

300g self raising flour

1 tsp baking powder

2 tsp butter

2 tsp oil

Method

  1. Line a baking tray with baking paper. Spread 1.5 tsp of Nutella into a disc approximately 6 cm in diameter. Freeze for 1 hour.

2. In a measuring jug, whisk together the milk, egg and sugar. Add in the dry ingredients and mix until smooth. The batter should be a thick flowing consistency. If the batter thickens as it sits, add a little more milk and whisk.

3. In a small bowl, melt the butter in the microwave for 10 seconds, remove, add the oil and mix together.

4. Heat a frying pan on a low/medium flame until hot. Add half a teaspoon of the butter/oil mix.

5. Pour about 1/4 cup batter into your pan to make a disc 5 mm thick.

6. Carefully place the Nutella disc in the middle

7. Pour just enough batter to cover the disc

8. Cook for a couple of minutes or until the underside is cooked. Do not flip early!

9. Once you have flipped the pancake, turn the flame down slightly and cook for another few minutes until completely cooked. To check it’s cooked, use a sharp knife to make a small slit close to the edge to check the inside. These pancakes do take longer to cook than plain pancakes. I always have two pans going at the same time.

10. Repeat until you have used all the batter. Serve warm.

These stay fresh in the fridge for a couple of days, just need popping into the toaster to reheat. Enjoy!

Coconut Flour Peanut Butter Cookies with Chocolate Chunks (Gluten Free Recipe)

Peanut Butter and Chocolate Cookies made with Coconut Flour

I came across this recipe a few days ago when I was looking for baking ideas for my brother who has lived a gluten-free diet for the last few years.  At first, I was nervous about baking with coconut flour as I knew such little about using it as a wheat flour alternative.  Our family uses coconut regularly, either as an ingredient in cooking(cream coconut, dessicated etc), drinking coconut water for health benefits,  or just eating pieces of raw coconut, but have never used coconut flour.  I’ve got to say they were delicious and hopefully will be making them again real soon! They are moreish yet chocolatey and have a melty yet soft grainy texture. I had modified the orignal recipe because it being a last minute bake, I used what I had in my pantry.  I also kept mine chunky looking by using a mixer instead of a food processor like the original recipe calls for.  You can ofcourse, do everything by hand using a wooden spoon.   I may try the food processor method the next time just to get a different texture and for experiments sake, but really, I just loved how these came out the way I made them and that’s the recipe I’m going to share with you.

Makes 10 Cookies

Ingredients:

1/2 a cup of peanut butter.  I used chunky by Whole Earth.

1 tablespoon softened butter

1 tablespoon sunflower oil

1/2 cup granulated sugar

1 table spoon soft brown sugar

2 medium eggs

1.5 teaspoons vanilla

1/4 teaspoon salt

1/4 teaspoon ground cinnamon powder

1/2 teaspoon baking soda

1/2 cup PLUS 1 tablespoon coconut flour

75g chocolate chips/chunks (I used 72% cocoa bar which I chopped into chunks myself)

Method

  1. Preheat the oven to 170C.  Line a cookie sheet with non stick baking paper.
  2. Place the peanut butter, butter, oil, sugar into a bowl and blend together using a mixer. Add the eggs and vanilla and beat to combine.
  3. Add in the salt, cinnamon, baking soda and coconut flour and beat together thoroughly.  Gently fold in the chocolate chunks.
  4. Using an ice cream scoop, divide the cookie dough into 10 equal sized cookies onto the baking sheet.  Flatten slightly with a spoon as these cookies no not spread much as they bake.
  5. Bake for 8 minutes, check to see if they are cooked.  If they are, remove from the oven and allow to cool.  If like me, you like a more browned, crumbly texture, reduce the oven temperature to 120C and cook for a further 5 minutes before removing from the oven and allowing to cool.

The chances are we all know somebody who prefers to stay away from wheat products but who loves to enjoy the odd cookie now and again.  These are a great bake for them and a slightly guilt free way for the rest of us to enjoy more than one!

Carrot and Cream Cheese Cupcakes

20181013_133837-01-01


Wow, that’s a lot of “C’s”!  Being in the midst of Autumn, and heading towards the season of spice, these cupcakes make the perfect evening dessert item.  This recipe is from one of my long time favourite trusted go-to chefs, Anna Olsen.  I have, as usual, adapted it a little to suit ingredients that are easily available in the UK particularly in my own pantry!

Ingredients:

2 cups loosely packed,  grated carrots

1/2 cup sunflower oil

2 Eggs

2/3 cup packed soft light brown sugar

1 tsp vanilla

1/3 cup castor sugar

1 1/3 cup self raising flour

1 heaped tsp baking powder

1/2 tsp bicarbonate soda

2/3 tsp cinnamon

1/4 tsp ground clove powder

1/4 tsp nutmeg

1/3 tsp salt

1/2 cup raisins

1/3 cup chopped nuts (eg mixed nuts, finely chopped blanched almonds, roughly chopped pecans or walnuts). I’ve used all these combinations and they all work great.

For the cream cheese frosting:

1/2 cup softened butter

1/2 cup cream cheese ( I use mine straight out of the refrigerator)

1.5 to 2 cups of icing sugar

1 tsp vanilla

Method

To make the cupcakes:

  1. Preheat the oven to 165C.  Line a 12 hole muffin/cupcake tray with cupcake cases.
  2.  In a large mixing bowl, sift the flour.  Add the baking powder, bicarbonate of soda, the spices (cinnamon, nutmeg and clove powder) and the salt.  Mix all the dry ingredients together. Add in the grated carrots and mix to coat the carrots with the dry flour mix.  This step is to prevent the carrots clumping together in the mix and to absorb any of the wetness from the carrots before the wet ingredients are added.
  3. In a separate bowl, place the oil, eggs, sugar and vanilla. Whisk to combine.
  4. Pour the wet mix made in step 3 into the dry mix in step 2. Mix until well combined.
  5. Add in the raisins and nuts. Stir gently to combine.
  6. Evenly divide the batter between the cupcake cases.
  7. Bake for about 20 mins or until a toothpick inserted comes out clean.  I use the fan assisted oven setting and I often check my cupcakes through the over door at 15 mins.  If I think they may be cooked, I will open the door and do the toothpick test. They usually require a minute or two more.
  8. Remove from the oven and cool completely on a wire rack.

To make the frosting:

  1. Cream the softened butter until pale and creamy (about 30 seconds using an electric mixture).
  2. Add 1/4 cup of the icing sugar at a time and beat well after each addition until you have added 1 cup of the sugar.
  3. Add the vanilla and another 1/4 cup of icing sugar and beat well.
  4. Add the cream cheese and whip for 30 seconds
  5. Add the remaining sugar in 1/4 cup phases until the desired consistency is met.  It should be at between soft and stiff peak (piping consistency).

To assemble

Place the carrot cupcakes onto a serving plate or cake stand.  Pipe the cream cheese frosting onto the cupcakes using a tip of your choice.  I used one end of a coupler (about 1.5cm in diameter) as a round tip.  If you do not have any tips, you can spoon a tablespoon of the frosting on and use a butter knife to smooth it at the top. I dusted my cupcakes with cinnamon as we are a spice loving family!


Tiramisu Cake Slice

tirimisu1

Serves 12

This bakery style tiramisu cake slice will impress even the most narrow eyed cake critic (provided they like coffee!)

Inspired by Cake Boss

Ingredients:

For the chiffon cake:

2 cups self-raising flour (sifted)

1 1/2 cups castor sugar

2 teaspoons baking powder

1/3 teaspoon salt

1/2 cup sunflower oil

7 eggs separated

3/4 cup water at cool room temperature

2 teaspoon vanilla or 1/2 seeds from 1/2 a vanilla pod

1 teaspoon lemon extract

1/2 teaspoon of cream of tartar

Extras for cake assembly:

2 heaped tablespoons of instant black coffee made up with 3 cups of boiling water, sweetened with 3 teaspoons of sugar.

2 to 3 tablespoons of cocoa powder

For the cream frosting:

800 ml of double cream

3 tablespoons of icing sugar

1 teaspoon caramel flavoring (optional)

200 g of mascarpone cream cheese


Method

To bake the cake:

  1. Preheat oven to 170 degrees C.  Grease, line and flour two 9 inch square cake pans.

NOTE: the original recipe did not grease or line the pans.  I assume this is to help the cake rise by catching on to the sides of the pan and to stop it deflating inwards when you remove it from the oven.  As I didn’t want to take a risk of not lining my pans, I decided to grease, line AND FLOUR.  The flour will allow the cake to catch onto the sides better and rise.

2. Separate the eggs and place the whites in a completely grease free bowl.


3) Add the cream of tartar into the egg whites and whisk until stiff peaks.  Leave aside


4) In another large bowl, place the flour, sugar, salt and baking powder. Make a well in the middle and add the oil, egg yolks, vanilla, lemon extract, water.  Whisk this well for about 3 minutes until it becomes a pale creamy colour.


5)Fold the eggs whites into the yolk batter


6) Divide the mixture between the two pans


7) Reduce the temperature of the oven to 165 degrees C and bake in the center of oven for 35 minutes. Check it after 25 minutes through the oven door to make sure it’s not browning too much.


If it is, check with skewer it may be cooked! If it wobbles when you open the door, put it back at 160 degrees C for 5 to 6 minutes.  A cooked cake will spring back when you gently press on it or an inserted skewer comes out clean.

8) Remove from the oven and set aside for 10 to 15 minutes.


9) When cool enough to handle, remove from the pan and cool completely on a cooling rack.

To prepare the cream frosting:

The cake is filled and covered by the same frosting.  Place all the double cream (minus about 2 tablespoons) in a large bowl and whip until just at soft peaks.  Add the mascarpone, flavourings, sugar and the rest of the cream. Whip gently to combine (careful not to over whip, it should still be at soft peak consistency.  Loosen with a little milk if necessary).

To assemble:

1) Place one of the cake sponges onto a serving plate or cake board. Make up the hot coffee as described in the instructions.  Using a tablespoon pour enough coffee to soak the top 5 mm of the surface.  Wait a few mins and repeat to cover any dry spots.  The sponge should not be completely soaked as it will make cutting neat slices difficult.

2) Carefully spread 1/3 of the cream filling onto the soaked layer.

3) Using a fine sieve, dust the entire top of the cream filling with cocoa powder.

4) Place the second sponge on top of the dusted cake.

5) Repeat the soaking step.

6) Cover the entire cake with the rest of the cream frosting. Using a palette knife, try and keep it as neatly square and level as possible.

7) Cool in the refrigerator for 30 mins

8) Remove from the refrigerator and now it’s time for the the fun decoration part! The top of the cake needs to be dusted with cocoa powder.  You can either dust the entire top of the cake with cocoa powder using a fine sieve or, use a stencil to add a pattern. I created a grid pattern by using a piece of an educational game (well washed and thoroughly dried) as a stencil but you can use any cake stencil or make one using cut outs from parchment paper or card.

20180925_104826-01tirim2

9) Place the completed cake into the refrigerator to set up for at least 2 hours

To serve:

Using a large serrated knife, carefully cut the cake in half horizontally so now you have two cakes each being approximately 9 inches by 4.5 inches.  Cut each cake into 6 slices (or more or less depending on how many slices you want or how big you want each slice ;P).  CLEAN your knife after each cut made.

The cake is ready to impress!! It really is so delicious and light that some people may want two slices from the ready!

tirim3 (2).jpg


Marble Cake

20180809_181611-01

This wonderfully moist sponge cake is based around a chiffon cake recipe. An icing-free cake, just dust this cake with icing sugar and its ready to delight the taste buds!

There are a few recipes online for chiffon cake. This one is an adaption of a recipe given to me by a friend.  I couldn’t find the source but all the recipes online are similar.

Ingredients:

2 cups self-raising flour (sifted)

1 1/2 cups castor sugar

2 teaspoons baking powder

1/3 teaspoon salt

1/2 cup sunflower oil

7 eggs separated

3/4 cup water at cool room temperature

2 teaspoon vanilla or 1/2 seeds from 1/2 a vanilla pod

1 teaspoon lemon extract

1/2 teaspoon of cream of tartar

1 to 2 tablespoons of cocoa powder

Icing sugar to dust (optional)

Method

  1. Preheat oven to 170 degrees C.  Grease, line and flour a 10 inch round cake pan.

NOTE: the original recipe did not grease or line the pan.  I assume this is to help the cake rise by catching on to the sides of the pan and to stop it deflating inwards when you remove it from the oven.  As I didn’t want to take a risk of not lining my pan, I decided to grease, line AND FLOUR.  The flour will allow the cake to catch onto the sides better and rise.

2. Separate the eggs and place the whites in a completely grease free bowl.

20180809_152537-01

3) Add the cream of tartar into the egg whites and whisk until stiff peaks.  Leave aside

20180809_153334-01

4) In another large bowl, place the flour, sugar, salt and baking powder. Make a well in the middle and add the oil, egg yolks, vanilla, lemon extract, water.  Whisk this well for about 3 minutes until it becomes a pale creamy colour.

20180809_154246(0)-01

5)Fold the eggs whites into the yolk batter

20180809_154309-01

6) Divide the mixture into 2 and sieve the cocoa powder into one of the batters

20180809_154701-01

Fold the cocoa powder in gently so now you have one vanilla batter and one chocolate batter.

20180809_154920-01

7) The next part you have to work a little quicker so I couldn’t take any pictures! Using a separate ladle for each batter, alternate a ladle of batter at a time.  Start with vanilla,  Pour a ladle of vanilla batter as close to the middle of the pan. Next, ladle the chocolate batter in the same way on top of the vanilla batter. You don’t want to cover the layer underneath, just aim for the middle and the batter will spread itself.   Repeat until all the mixture is finished.  It should look like this:

20180809_160132-01

8) reduce the temperature of the oven to 165 degrees C and bake in the centre of oven for 45 minutes. Check it after 35 minutes through the oven door to make sure it’s not browning too much.

20180809_165938-01

If it is, check with skewer it may be cooked! If it wobbles when you open the door, put it back at 160 degrees C for 8 to 10 minutes.  A cooked cake will spring back when you gently press on it or an inserted skewer comes out clean.

9) Remove from the oven and set aside for 10 to 15 minutes.

20180809_170049-01 (1)

10) When cool enough to handle, remove from the pan and cool on a plate or cooling rack.

20180809_172225-01

When cool, cut through to reveal the glorious stripes! Dust with icing sugar and serve.


20180809_181049-01.jpeg


English Lemon Cheesecake with Berry Compote

psx_20161224_145751-1


This is an egg free, no-bake cheesecake which has the perfect sweet/tangy balance.  There are many recipes out there with a similar basic recipe but I have (as i do) adapted this one for my own taste palate and tin size!

Serves 8 to 10

Ingredients

For the base:

16 digestive biscuits

120 g melted butter

For the cheesecake filling:

300 g condensed milk

300 ml double cream

300 g cream cheese

2 lemons

NOTE:   To increase the number of servings, I occaionally increase the measurements of condensed milk, double cream and cream cheese by 50g  if I have extra amounts handy.

For the compote

1/2 cup frozen berries (strawberries, raspberries, summer fruits, forest berries or mixed)

1 tbsp jam or conserve (I use raspberry conserve)

1 heaped tsp sugar

1 tbsp lemon juice

Method

  • Grease an 8 inch loose bottom cake pan
  • Crush the digestive biscuits leaving some larger bits (do not over crush).  Melt the butter in the microwave in ten second bursts.  Pour the butter into the crushed biscuits and combine.  Press this mixture into the cake pan and flatten down using the back of a spoon. Refrigerate while you make the cheesecake mixture.
  • Place the double cream in a large bowl and whip  until soft peaks.  Set aside.
  • Wash and dry 2 lemons. Roll them on a hard surface to soften slightly.  Grate the rind using a very fine grater. Cut the lemons in half and squeeze to collect the juice (no pips please!).  Mix the rind into the juice and set aside.
  •  In another large bowl, whisk the cream cheese for 30 seconds until soft and smooth.  Slowly beat in the condensed milk until silky smooth.  Add in the double cream and whisk to combine. Add the lemon juice in gradually while mixing with the whisk.  You will notice the mixture thicken significantly.
  • Pour the cheesecake mixture over the biscuit base and chill for at least 6 hours.
  • To make the compote, place the frozen berries in a colander and briskly rinse under a tap.  Without losing the water and juice from the berries, quickly place them into a saucepan and set to heat on a low flame. Add the sugar and bring to the boil.  If it looks dry, add a table spoon of water at any stage.   Add the tablespoon of lemon juice and the jam and heat until it thickens slightly.  Take off the heat and pour into a serving bowl to cool down before placing into the refrigerator to chill.
  • To serve, remove the cheesecake from the pan and place on a serving dish.  Cut a slice onto a small presentation plate and add a heaped dessert spoon of the compote on the side.  Make sure after serving your guests, you take a nice piece for yourself and enjoy every last bite!


Coffee Buttercream Recipe

img_20160919_165103

This deliciously smooth frosting is one of my favourites.  It goes very well with any cake flavour but best pairs up with coffee cake.  For a good coffee cake recipe click here.  If you do use this recipe, increase all the ingredients by 5o% so use 6 eggs, 12 oz flour etc.  Bake in two 9inch round pans. Then use the below frosting recipe to fill between the two cakes and cover. That will yield 12 generous servings.

My recipe for the coffee buttercream is slightly adjusted to the one in the link.

Ingredients:

250g salted* butter softened to room temperature

2 cups of icing sugar

2 teaspoons of instant coffee (I used Columbian arabica) dissolved in a tablespoon of boiling water.

Method:

1. Beat the butter on medium high speed for 2 minutes.

2. Add the icing sugar 1/3 cup at a time, scrapping down the bowl regularly and beating with each addition. Occasionally a little less or more icing sugar may be needed to reach the desired consistency.

TIP: icing sugar has a tendency to fly everywhere so place a damp tea towel near the mixture to catch the dust.  If your mixer does not have a splash guard, place a damp tea towel on top too or stir each addition in carefully before starting the beaters.

3.  Slowly pour in the dissolved coffee with the beaters running.  Scrape down the bowl and give it a final beat on high for a minute or until whippy.

*I find salted butter produces a better result in baking and in frosting recipes compared to unsalted.

Most frosting recipes may look simple but can be tricky to get to the correct consistency.  This particular frosting is very easy to get a perfect consistency and taste.  Happy baking!